Thursday, November 17, 2022
-
4
min
Creating 3D animations with ThreeJS

In our previous blog, Morrow's senior app developer, Costas, discussed setting up an Expo project with ThreeJS Javascript library. Let's get to the fun part - adding 3D animations!
Please note: This is part 2 of the tutorial. You can find part 1 here.
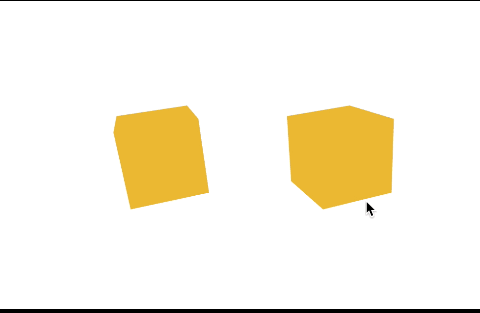
Animation
In part 1 of this tutorial, we set up our Expo project and added some cubes. Now, let's animate the cubes.
Update the Box component
App.tsx
What we did above:
We created a ref object so we can get access to the internals of the mesh component.
Then we added the useFrame hook, which is the equivalent of requestAnimationFrame. It requests an update on when the canvas is going to be repainted.
The useFrame hook requires a callback which is provided with state and delta parameters. Delta is a clock delta that allows us to have more 'accurate' animations to our meshes based on time (remember that animation frames are not guaranteed to be called with 60fps rate).
But in our case, we have no time-sensitive animations. So we just get access to the mesh component's internal state and update the rotation angle on each axis.
Smooth (spring) transitions
You would already see that it scales instantly when we click a cube. This feels 'unnatural'; in most cases, you would want smoother transitions in your objects.
An excellent tool to use for such cases is @react-spring. This is a library for creating spring-physics animation in React. But it has a specialised library for ThreeJS that can be of use here.
Update the Box component
App.tsx
You should see that scaling up and down now happens smoothly
What we did:
We created an animated value based on the clicked state
Then we bound this animated value to our mesh.
Please note a small but critical detail here. We no longer use the original mesh component. We use the component as it is re-exported through the animated component of the @react-spring/three library. This re-exported component can handle animated values.
The final code
This code should be able to work both on WEB and NATIVE expo apps.
Note: It should not work on 'emulators' as they don't have a GPU. Once you go, OpenGL/WebGL test can run only on physical devices.
What's next?
Well, there are many more things to deal with when doing 3D.
We have yet to touch camera controls that allow you to move the camera through space. We can also explore the OrthographicCamera.
But these are topics for other articles. Enjoy your new 3D horizons!
Next up: "How to improve your React Native 3D animations: camera control with Three.js."
Liked this tutorial? Sign up for our monthly newsletter and never miss a tutorial!

.jpg)